Add your own title and intro here (Change this under Settings -> General -> Tagline)

Author: learningjourney (Page 2 of 2)

Free Inquiry Week 6

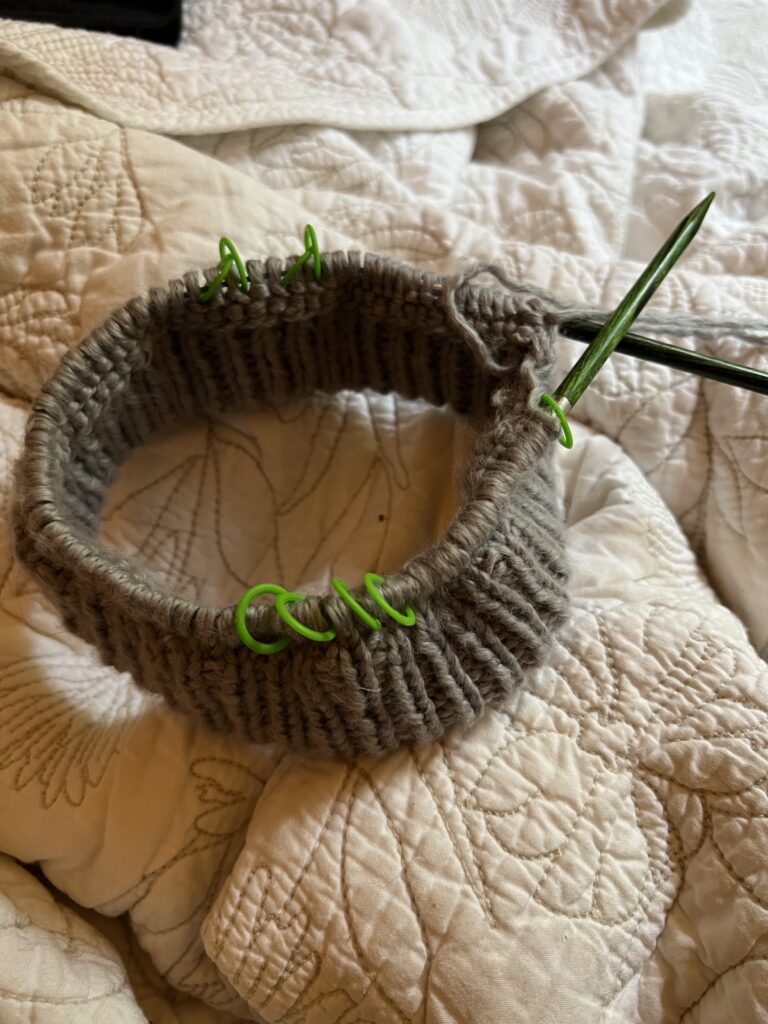
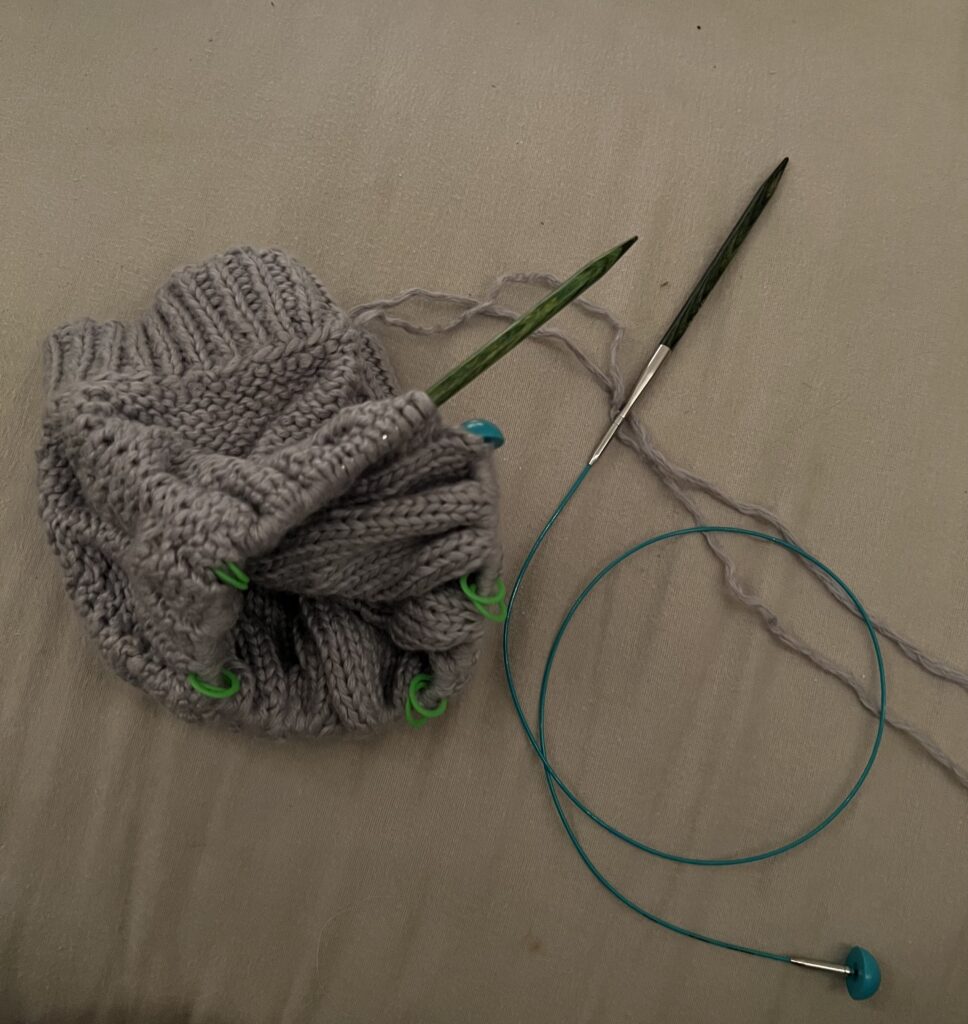
This week was a continuation of all the work that I have been doing, continuing to work on the yoke and make it long enough. It has taken a lot longer to do this section than I thought, I thought that it would be a lot quicker and would be able to move on quickly. Keeping track of the row that I am on has been something that I am still working on and trying to keep on top of it so I know where I am. Something cool that I have gotten to do this week was change the chord length that I am using. Since I have been adding stitches as I increase the size of the yoke, there is not enough room on the chord for all the stitches so I had to change from a 40 mm chord to a 80 mm chord. Though to do this is a tricky step. In each chord package there are three components that are included, there is the chord, a pin, and chord ends. The pin is used to tighten and attach the chord to the needles so that they do not come apart as you are knitting. The chord ends are used when you are doing this exact step, switching from one chord size to another. To change the chords you remove one needle from one end of the chord and attach the chord end, then with the needle you remove you attach the new chord you are switching too and put a chord end on the other side. You then knit as usual until all of the stitches are now on the other chord and there is more room to add the stitches as you continue to increase the yoke.

This is me beginning to switch the chord lengths!
Week 6 Reflection

This week we looked at assistive technology and how to make learning more accessible for all learners. We learnt about what accessibility is for different learners and their needs. In one of the videos we watched, there were many different needs that each learner had that they described and their reasons for needing it. This ranged from needing larger text displayed to needing information presented in different manners either auditorily or visually. We also discussed what digital accessibility is and how different websites are either more or less accessible for different learners. How things like contrast, links, screen readers and other factors either increase or limit the accessibility of a website or other digital sources.

We also discussed how making technology more accessible to those who need it also creates a better experience for all learners using these sources.

After having these discussions we each altered the videos that we created in our first in-person class and added captions to them to make them more accessible.

https://www.youtube.com/watch?v=hQNLyGqhcqE

Another element of technology that we looked at that can make things more accessible is adding alternative text to images that are on our blogs and doing this moving forward so that we can continue to improve our blogs and make them more accessible moving forward.

Garry oak tree branches in spring.
Taken by David Abercrombie – https://www.flickr.com/photos/albategnius/41129934152

Free Inquiry Week 5

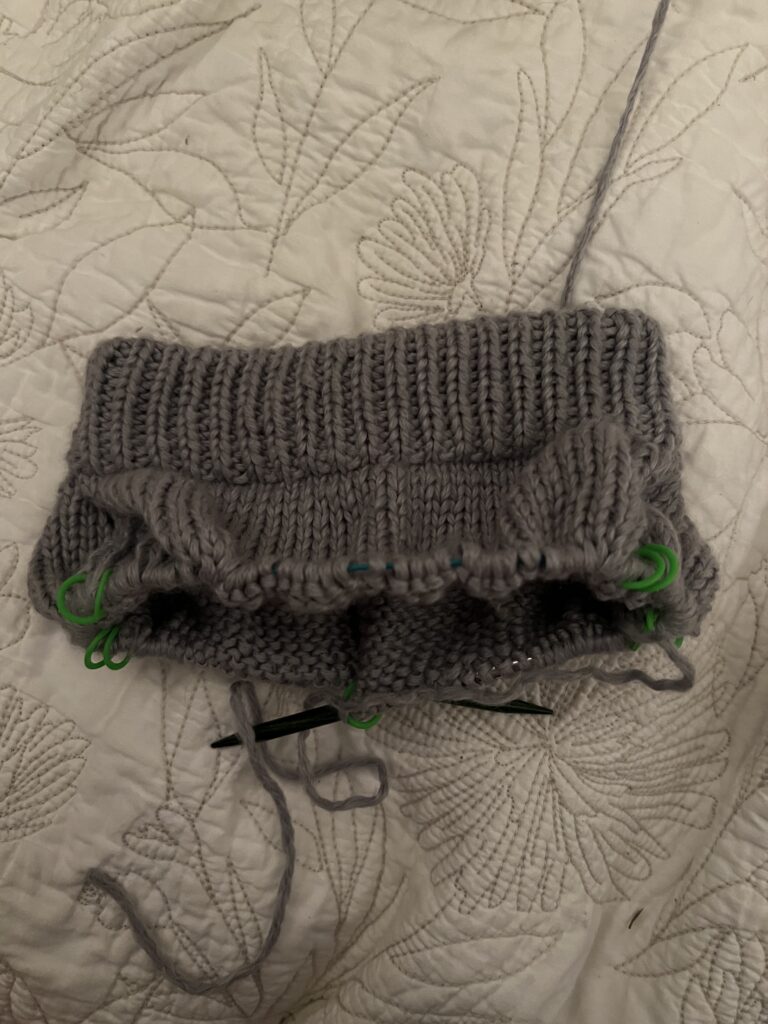
This week was a struggle, I made a mistake and don’t know what I did or how to change it. I think I added an extra stitch somewhere and then I also forgot what row I was on and if I needed to increase or not. The way that the pattern works is I am now creating the top part of the sweater and need to keep increasing the size so that it will fit my shoulders, to do this I knit on round with just straight stitches and for the next round I add increases in specific spots that are marked. So far I have just been trying to remember which row I was on and have not been keeping track. This strategy was working pretty well but not not so well, I think I am going to have to switch up what I am doing. I go some advice from a friend of mine, and I am going to start keeping a piece of paper indicating what row I am on in with my project so I do not forget again.

Since this is my first time knitting, I was bound to make a mistake. However, I do not know how to take the stitches apart. I know how to crochet and take stitches apart which is much simpler because each of the stitches is individual and there is no chance that the whole garment will unravel, unlike with knitting where I could lose all of my progress if I am not careful. There are so many great resources online that I have used to help me with this, by watching aa few videos (one which I will link below) that helped me grasp what I needed to do and how to undo the stitches.

Overall I am excited with how this is progressing but have to get over this mistake and take out what I did before I continue, I just have to buckle down and do it.

Week 5 Reflection

This week in class we had the opportunity to visit the Digital Scholarship Commons where we had a 3-D Design and Printing workshop. During this workshop, we learnt about the uses of 3-D Design and printing in K-12 classrooms. I had never had hands-on experience with anything to do with 3-D design or printing but I have heard a lot about it so having the opportunity to try it for myself was a great experience.

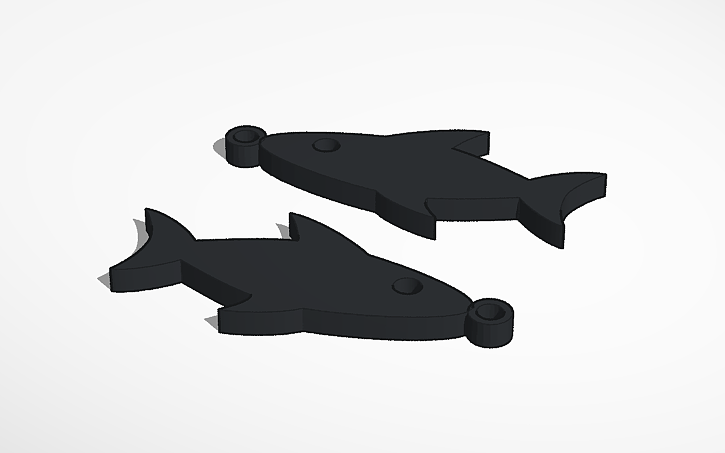
We had the opportunity to design and submit our creations for printing, there were so many different ideas and everyone had the chance to be creative and express their interests. I chose to make a fish key chain, I had to find an image of a fish that I liked and then import it into TinkerCad. TinkerCad is the program that we used to design the object or item to be printed, using this platform was a bit of a learning curve. Trying to figure out how to manipulate the objects, how to create certain shapes and how to adjust the perspective were a few things that took me a second to understand. But once I did, I had such a feeling of accomplishment and success, I was very proud of myself in that moment.

One way that I think this technology can be used as a cross-curricular learning opportunity is when connecting it with history. Specifically, by re-creating historical landmarks or historical artifacts, by doing this you can bring the structures and the artifacts into the classroom without having to get the actual object or go to the space. Let’s think about Stonehenge, a very famous monument. This monument is in a completely different country and on a different continent so; by creating the structure by using 3-D printing, you can bring a piece of history into the classroom to touch and see not just as an image.

Take a look at this video about 3D Design and Printing in the classroom, there are a lot of great insights and tips.

I am hoping to teach in the 2-4 grade level and a pro of using 3D design and print in these grades is the amount of creativity and freedom that this technology provides. You can create anything you can think of and that is such a valuable lesson for learners, that there are no bounds to creativity and that if you can think it there is a way to create it. A con that I can think of, however, is the fact that there is a bit of a learning curve that may deter some students. The program that we used, TinkerCad, was a little challenging for some of my classmates to understand so it may be even more challenging for those who are younger. Also, the fact that it is on a screen and not a tactile project may not be the best for some students. Overall I think it is valuable to think of ways that you could use 3D design and print in the classroom and modify it for the age you are teaching.

This is the fish keychain I designed

Free Inquiry Week 4

Knitting update!

Over the past week, I have made a lot of progress on the sweater! I am through the collar and am now starting on the yoke which is the top part of the sweater. This is one of the trickier sections of the sweater because you have to use two different stitches and alternate rows between just knitting and adding increases. I used the video linked below to learn how to do the stitches I didn’t know how to do. There are a few different materials that you need for this sweater which is something that I want to focus on this week.

Look at my progress!

For this sweater, you need two different sizes of needles and also two different lengths of cords. To make this sweater and other sweaters in this style you need to do something called knit in the round, which means you are not knitting back and forth on straight needles, but using needles that are connected through a cord or cable. By using this kind of needle you can work on a garment and make it as a tube rather than making individual pieces and stitching them together. For this sweater, you don’t only use one set of needles and one cable though, there are two different needle sizes and two different cable lengths. You begin on a smaller needle size to create the collar and then increase your needle size to create the rest of the sweater. The same thing happens with the cable length, you start with a smaller cable length but as you knit the yoke and add stitches you then transfer to a longer cable to make room for all the stitches. You have to be aware of when you need to switch and then also use specific tools to change needle size and cable length. There is this pin that comes with the cable that you have to use to tighten and loosen the cable from the needles to make sure that they stay attached. Which is an interesting piece of technology that someone had to think of and then create to solve this issue that people were having where the cable was getting loose from the needles and then the yarn was getting caught in between the needles and the cable. It is really cool to being using all this technology and these tools that have been developed over centuries and hold that history in your hands.

Week 4 Reflection

Some of the major limitations of generative AI mainly revolve around the information that the AI is being given. If the information is biased then the AI will also be biased, this can result in biased results that may discriminate or marginalize underrepresented and minority groups solely based on the information provided. Another limitation of generative AI is the fact that it will try and help to the point of going too far and just creating or citing information that does not exist or has not happened. So you must always double-check the work and information that is given to you by generative AI because it may not always be correct. Generative AI is also completely reliant on the information that it is given and there is not always a way to check the information that it is being given and who is giving the information to the generator. When using a generative AI resource you also have to be very particular with the words that you use and the requests that you make so that you are given exactly what you asked for.

Check out this video on human bias in AI and how we can keep it separate.

Some ways that I have found GenAI useful for educational purposes have been around citations and citation generators. Having to cite papers and articles in writing was new in university and not something I am very good at, so using generative AI to create the citations has been very helpful. Another way that I have found generative AI useful is through Grammarly, which is an app that you can install and looks over any writing for grammar mistakes and gives suggestions on how to structure sentences and spelling corrections.

You can take a look at Grammarly here: https://www.grammarly.com/.

Free-Inquiry Week 3

For my free inquiry, I will be knitting a sweater. Knitting is something that my sister is very knowledgeable about and is something I have been wanting to do for a while and I thought this was a great opportunity to do this. The pattern I have chosen is a simple sweater that only requires the knowledge of two stitches and a very basic understanding of knitting. This is a photo of the sweater that I am knitting.

I will include the link here: https://www.ravelry.com/patterns/library/step-by-step-sweater.

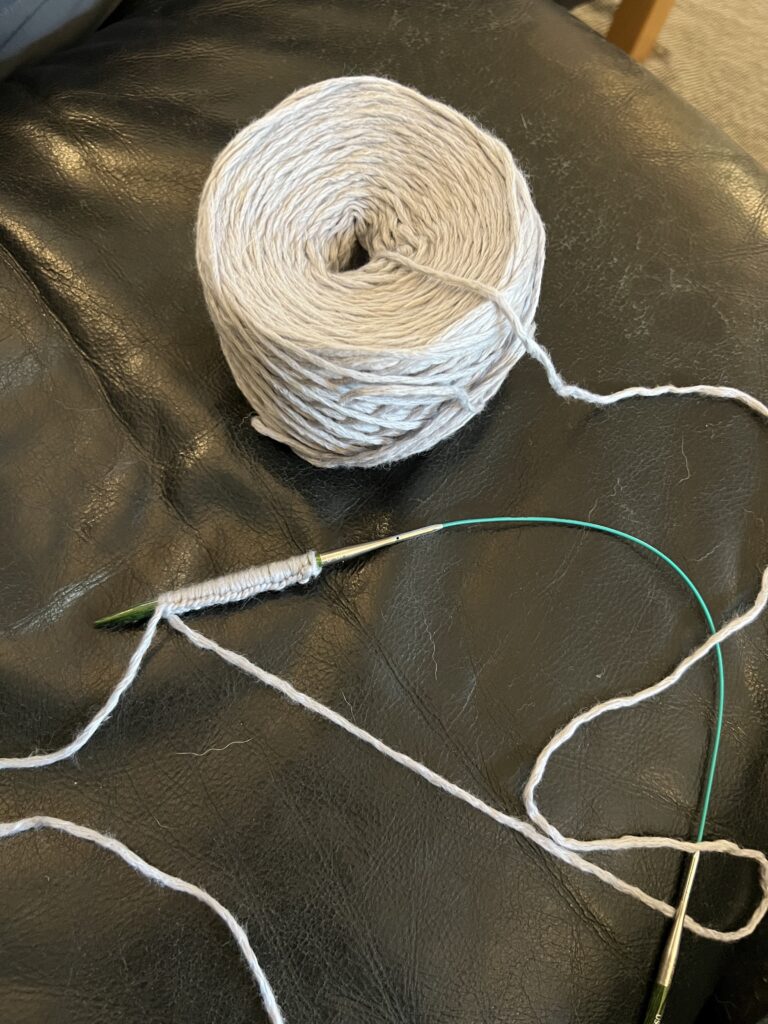
I have just started the project; it took some time to set up. I had to pick the yarn and since I am allergic to wool it is a bit of a process to pick what I want to use, there is a limited selection of non-wool yarn. For the pattern that I am using I had to use a specific size of yarn and that narrows it down even further. Now that I have all of the necessary materials I have cast on the project and begun to knit the sweater.

This is a photo of me “casting on” my project which is how you start any knitting project.

Image citation: https://www.ravelry.com/patterns/library/step-by-step-sweater

Week 3 Reflection

EDCI 336 – Weekly Reflection

This week we took a look at educational resources and the tools that are available for teachers and students. We created an interactive video on a website of our choice, my choice was The Spinnacle Yarns website a local yarn shop. Creating the interactive video allowed me to look at video creation differently. Having to create an interactive element of the video made me look deeper into how videos can help teach learners difficult information while continuing to have confirmations throughout that make sure learners are paying attention and engaging with the information. Including different confirmations such as questions or polls can also gauge how many students are interacting and how well the information is being retained.

My video

The multi-media learning theory describes how the use of multimedia is beneficial for learners if used in the right way. Multimedia is a combination of media, this could be text and image, image and sound, or text and sound. It has been found that the combination of text and sound, such as someone reading the text, is the least impactful combination of media. The combination of image and sound is the more impactful combination, where there is an image related to the topic on the screen as someone speaks in greater detail about the topic. For example, if the topic is goats, having an image of a goat on the screen with very little text while the speaker goes into greater detail about the information. This combination allows for learners to be engaged in the subject matter and learn from the speaker while simultaneously having external stimulation that can continue to engage them. By using this knowledge of multimedia learning theory, instructional videos and tutorials can be improved to limit the amount of text on the screen and increase the amount of information that will be retained.

In video image citation: https://www.ravelry.com/patterns/library/step-by-step-sweater

Week 1 Reflection

Do we need to reimagine education is such a thought-provoking question, in my mind education should always be changing. The current way that the education system is structured mainly revolves around students learning information and then subsequently regurgitating it on tests or exams to prove they understood the concepts. By structuring education this way, we place more emphasis on the regurgitation and memorization of facts and concepts rather than the true understanding.

When educators do try to change to pedagogy of education, they are met with resistance from both students and fellow educators. The students may resist because the way they have been taught has worked for them and they do not wish to change the structure that feel comfortable within. For educators it could be a similar issue, where they have taught a certain way they whole career and that is how they were taught and it works so why change it?

The potential benefits of using Creative Commons-licensed images in blog posts are the variety of media that you present the more interested a viewer will be.

Newer posts »