Add your own title and intro here (Change this under Settings -> General -> Tagline)

Category: Free Inquiry

This is the category to apply to your Free Inquiry posts.

Free Inquiry Final Presentation

I decided to do a Prezi presentation to display the timeline of my progress.

https://prezi.com/view/XuTjKCNHBDuCViGtiOqx/

Throughout this project, I have relied on multiple different technologies to complete the sweater. The main pieces of technology that I used were YouTube and the Ravelry Pattern PDF. Through YouTube, I was able to find videos of different stitches that I had to learn, as well as how to undo any mistakes that I made. The Ravelry pattern held all the information that I needed on how to make the sweater and the steps I needed to take to complete it.

I am also lucky to have people in my life who are very knowledgeable in this area and were a lot of help. I think it would have been much more difficult to do this on my own without the guidance and expertise of the people around me.

Aside for the digital technology, I also thought that it was interesting to think about the technology that I was using to create the sweater. The needles and the cables and the stitches that have such a long and rich history which came together to make the sweater from just my hands, sticks, and string.

Overall I am very proud of the result and I am looking forward to continuing this hobby for a while.
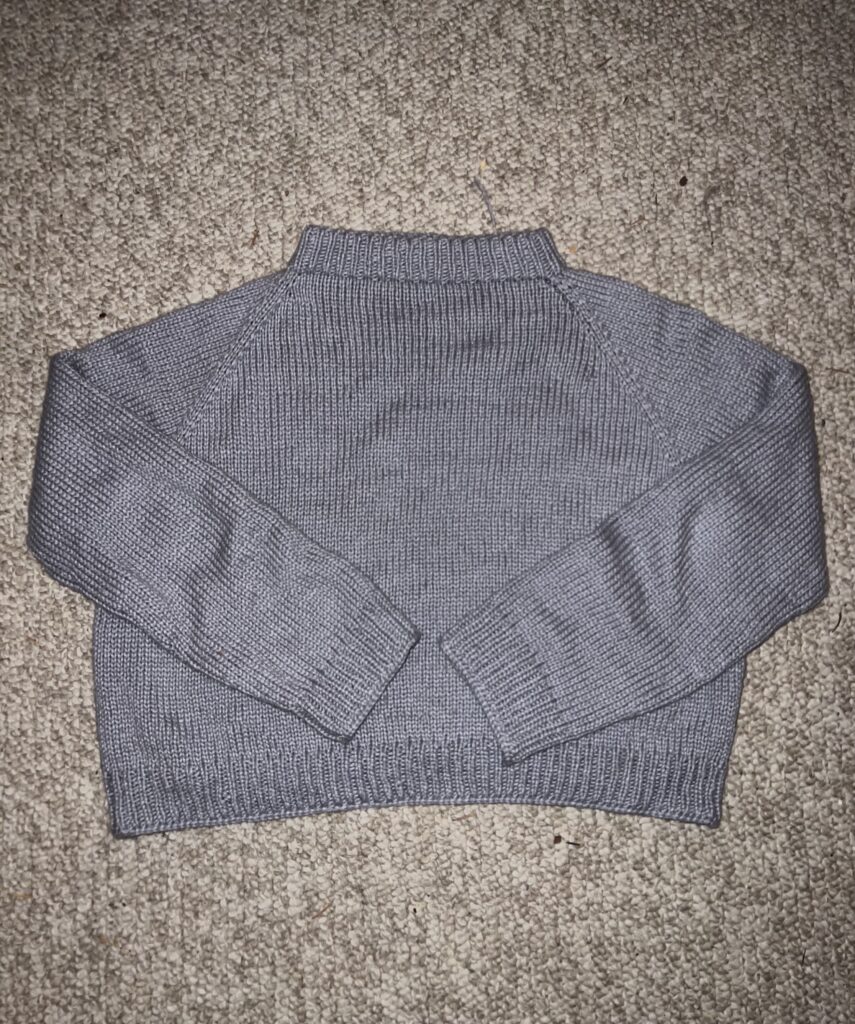
Here is the final sweater!

Free Inquiry Week 11

I finished my sweater this week! I picked up the stitches around the armhole and then knit down to the wrist. I had to learn a new stitch for this, the decrease, so I could make the arm taper as it got down to the wrist. I followed a few videos on YouTube that I have included below.

I am very proud of myself for sticking with it and completing this entire sweater. It has been a lot of learning and a lot of mistakes, but that is how you learn. YouTube and the people in my life have been very helpful throughout this process and were my main resources. The last step is to block the sweater which I will be washing and then I will be laying it out and letting it dry in shape.

Free Inquiry Week 8

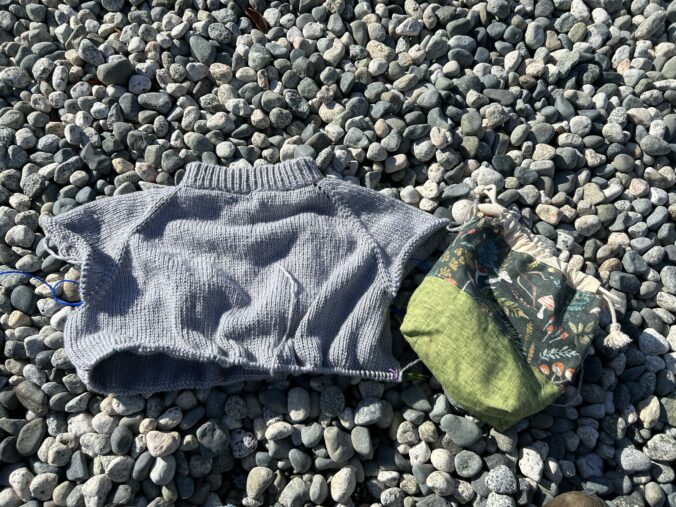
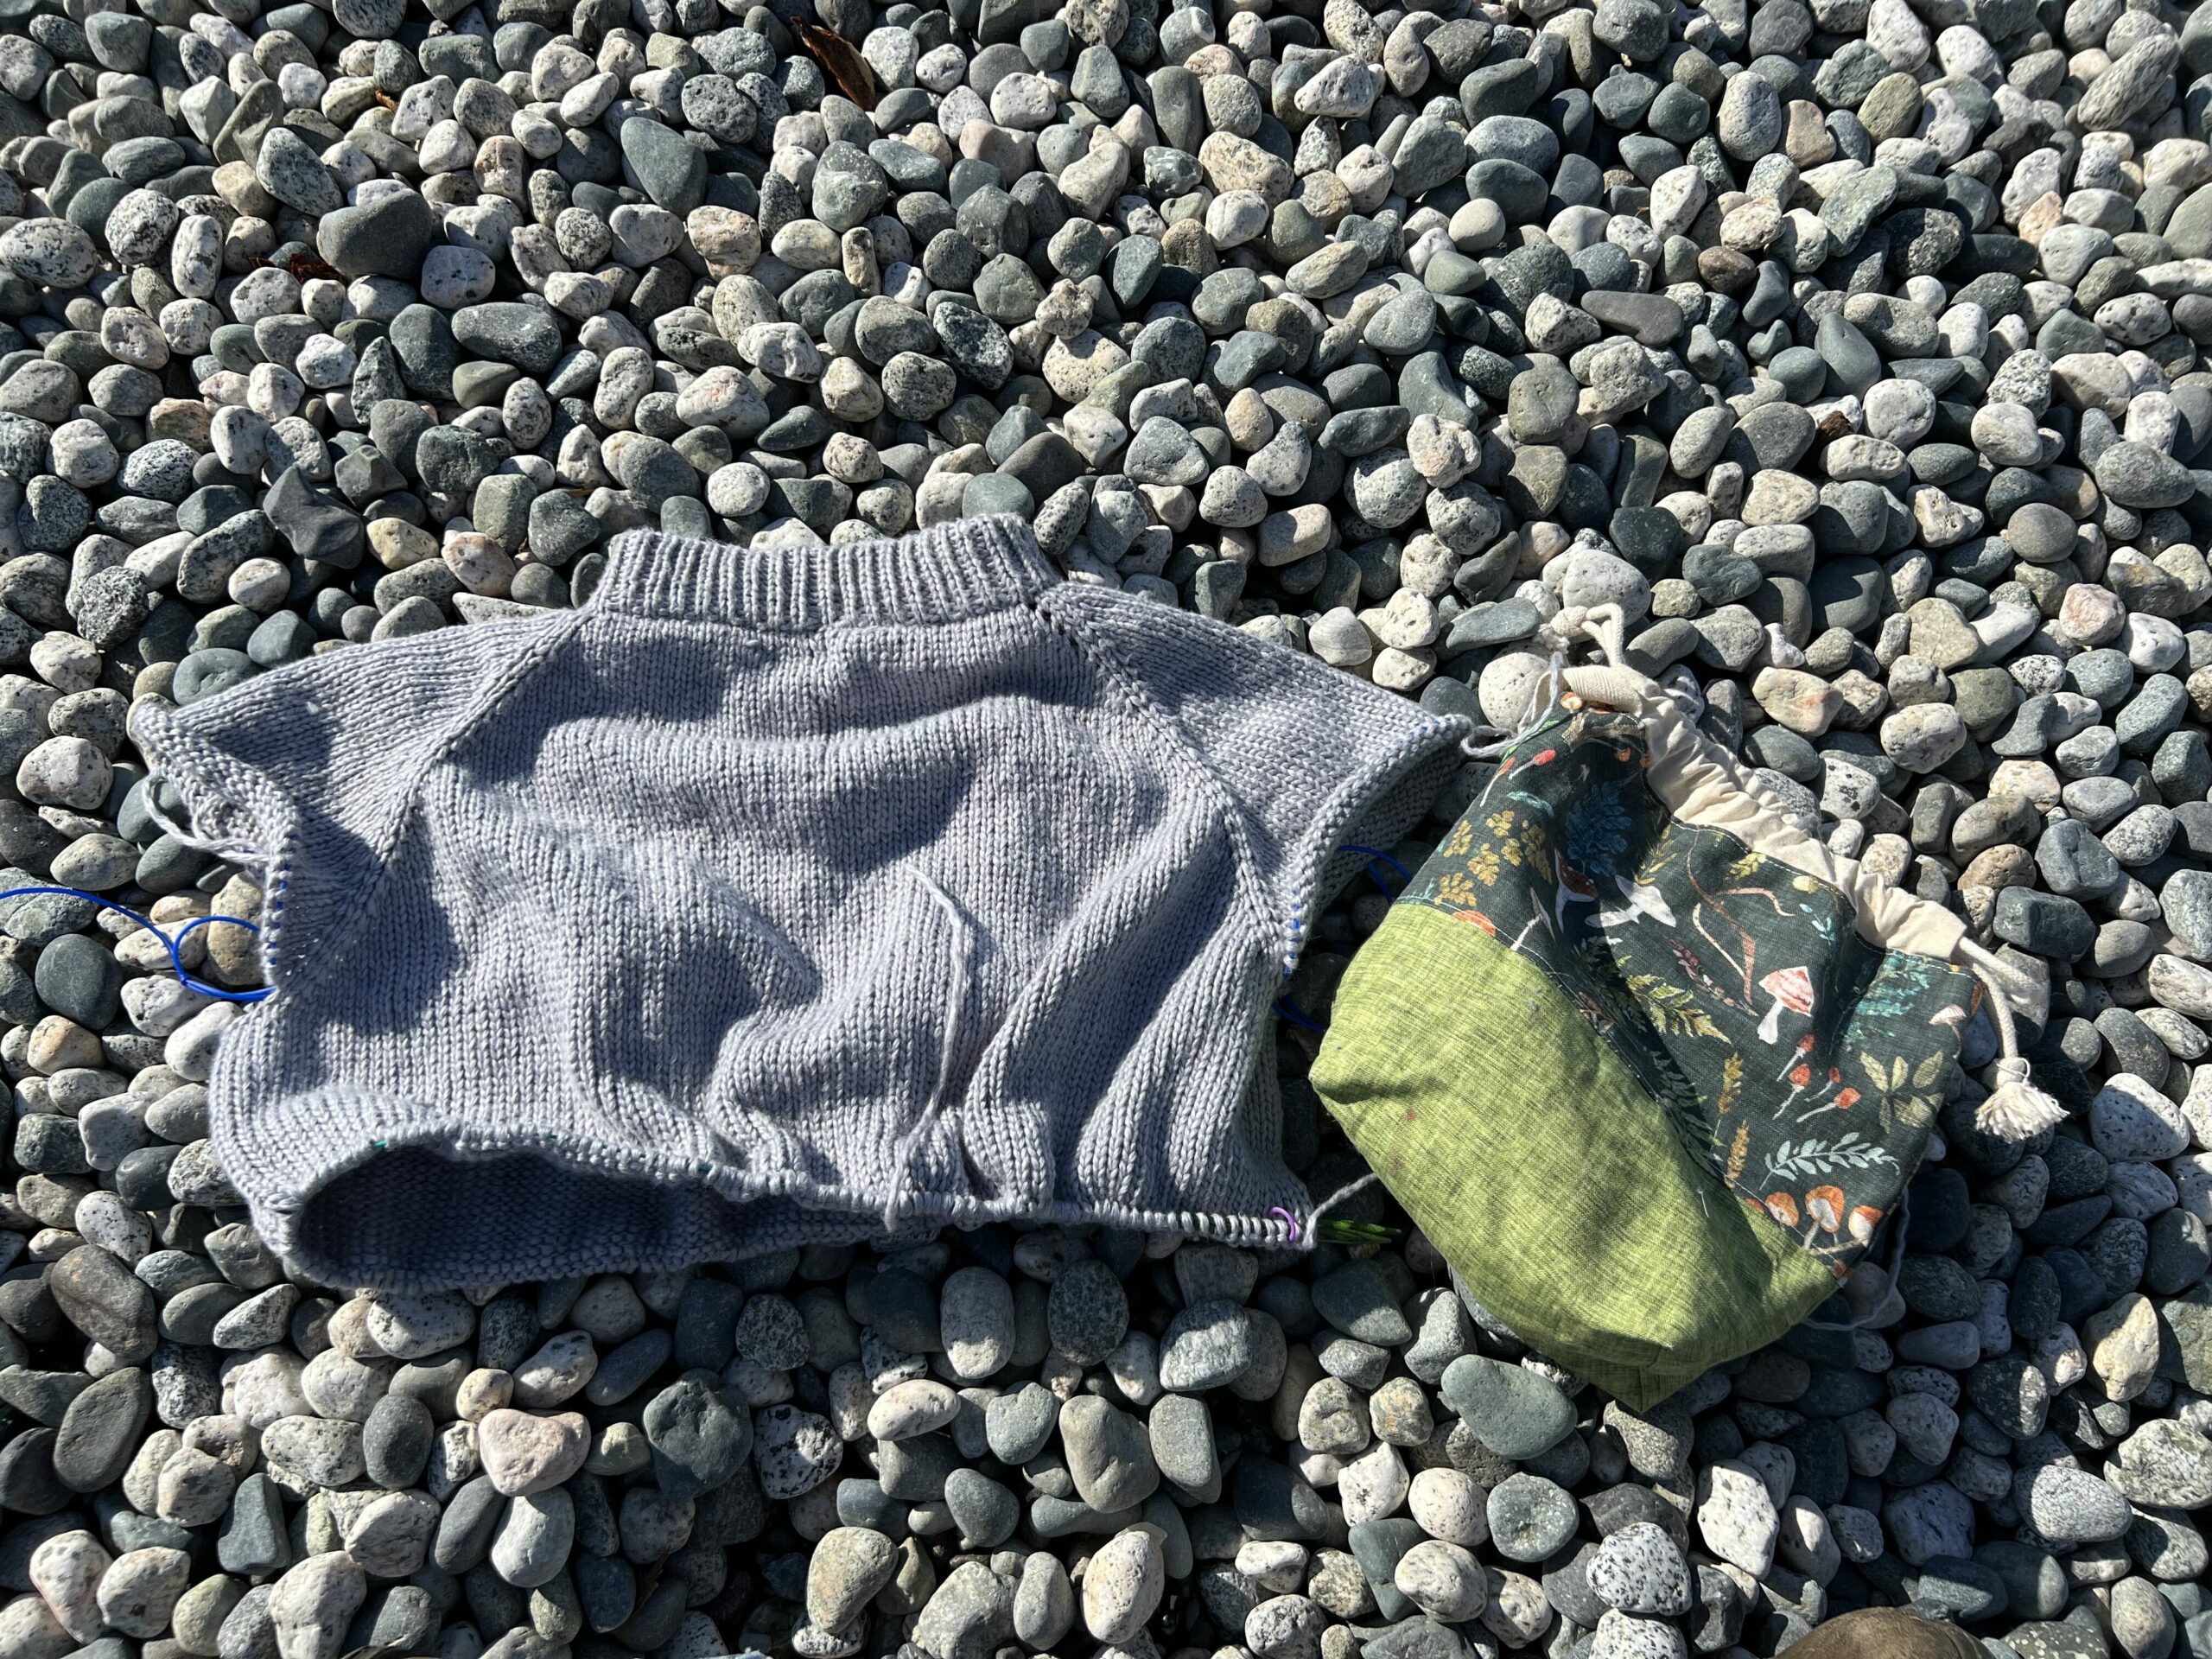
This week, I made a lot of progress on my sweater. There were some advanced steps that I had to do to separate the sleeves from the body to continue the sweater. I had to first continue to knit to the markers and then transfer the stitches from in between the markers onto a different string to keep them for later and make sure that they wouldn’t unravel. I had to do this on both sides, and it was a little tricky, but luckily, I had my sister’s help.This is the progress that I have made on my sweater so far, I even took it on a little field trip this week.

Grey sweater half knit on a rocky beach with a mushroom bag beside it.

Free Inquiry Week 7

I made a lot of progress this week! I got through my mistake and figured out how to keep going. I am not over halfway through the yoke of the sweater and making good progress.

The technology that I want to talk about today is the creation of fibres. I am allergic to wool however, I do know quite a bit about how wool is made because of how much my sister knows about it.

It begins with the shearing of the sheep where the raw wool is washed and cleaned and then it is brushed out to clean the fibre and make it smoother. Then it is dyed and turned into fibre that is ready for spinning. It will look like this:

Red and burgundy wool fibre for spinning.
Fibre ready for spinning – suziesparkle via Flickr

This brushed and dyed fibre is now ready for spinning! To spin you need a spinning machine or a drop spindle.

Both of these technologies take the raw fibre and begin to create the wool that you can use for knitting, the fibre is spun tightly to form a stronger material. After the fibre has been spun into a thread, it can then be spun together to ply the material to create a thicker and stronger wool for knitting or crocheting.

Pink and orange wool
Handspun wool “Pheonix” – MiA via Flickr

This is the final result and now ready to create amazing garments!

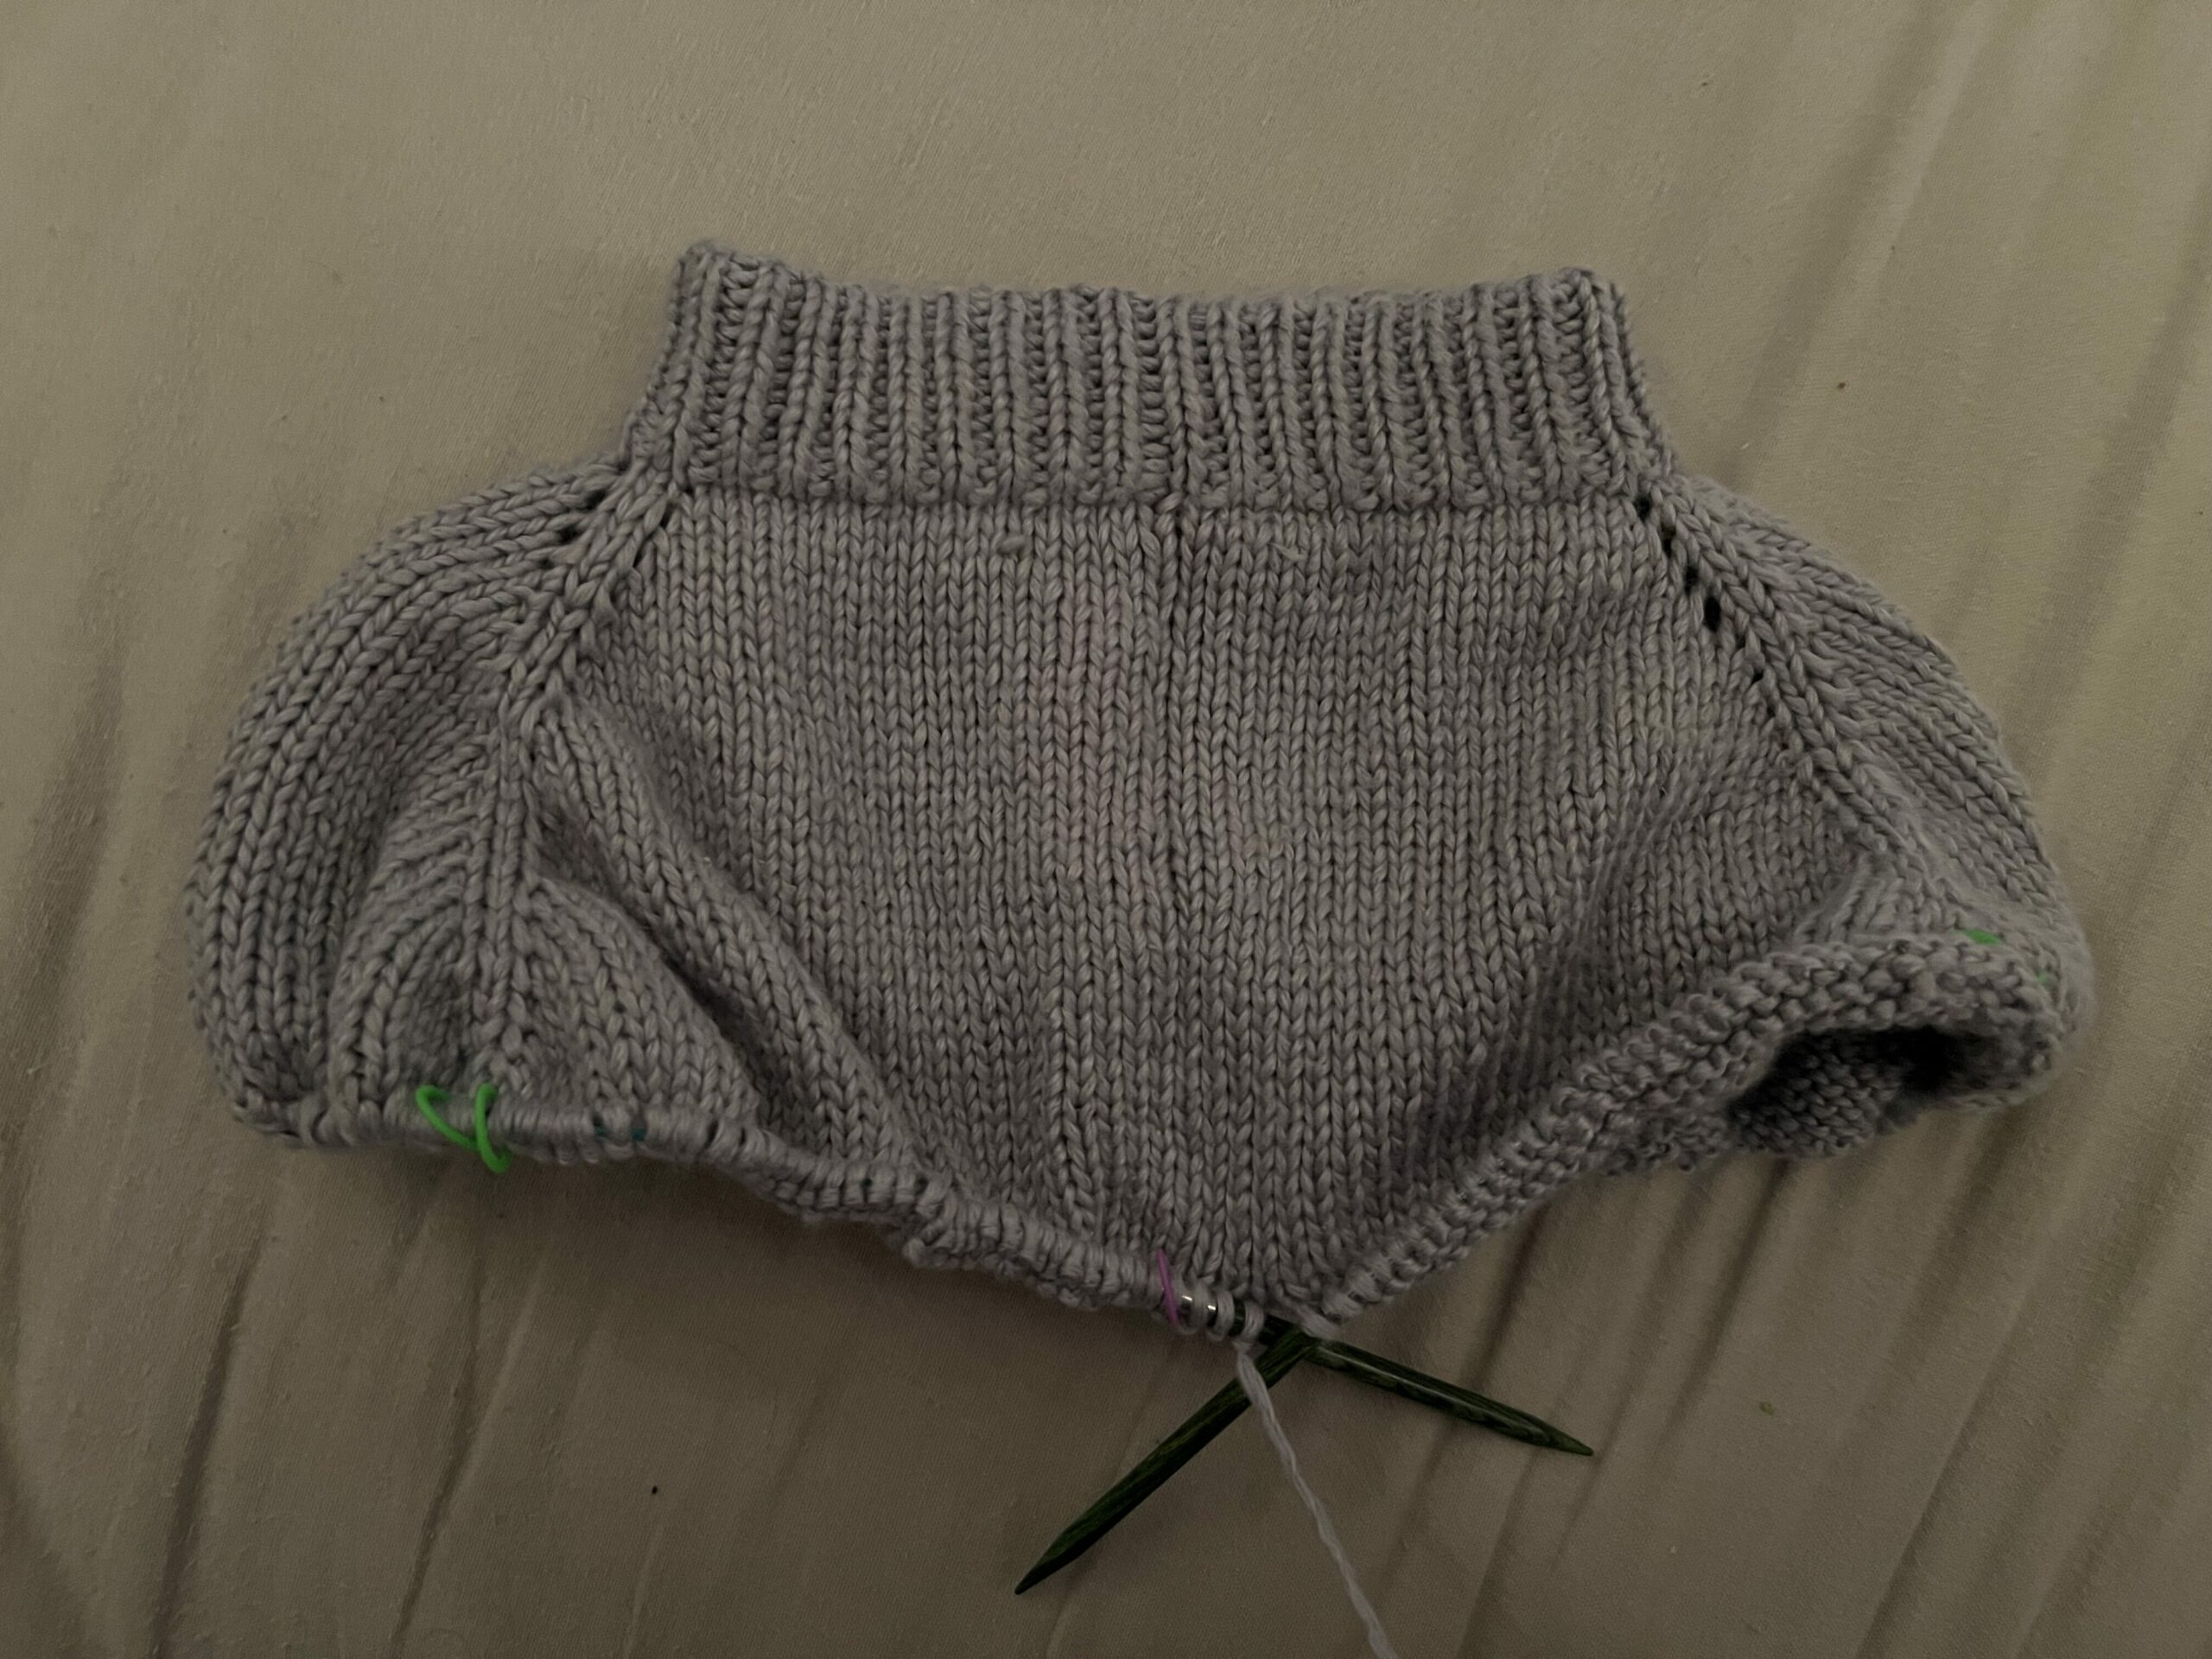
Here’s an update on my sweater!

Grey sweater on green knitting needles.

Free Inquiry Week 6

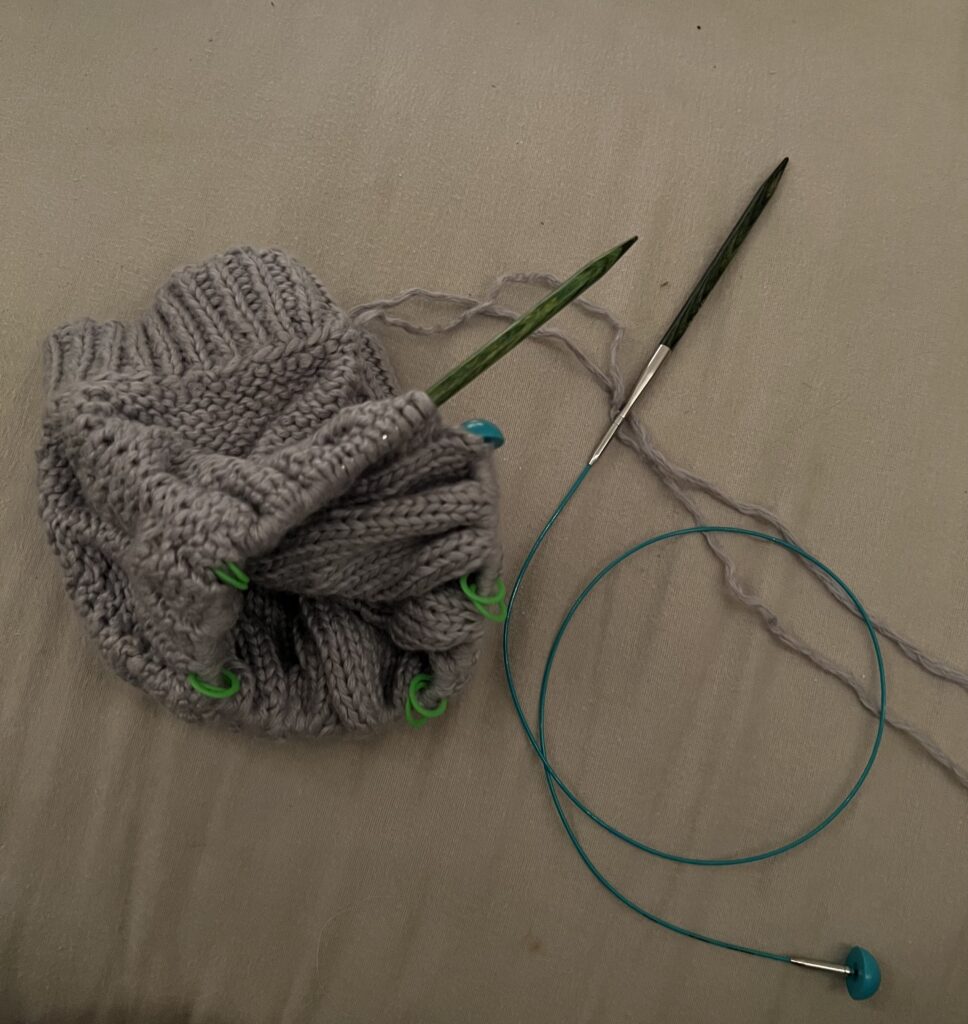
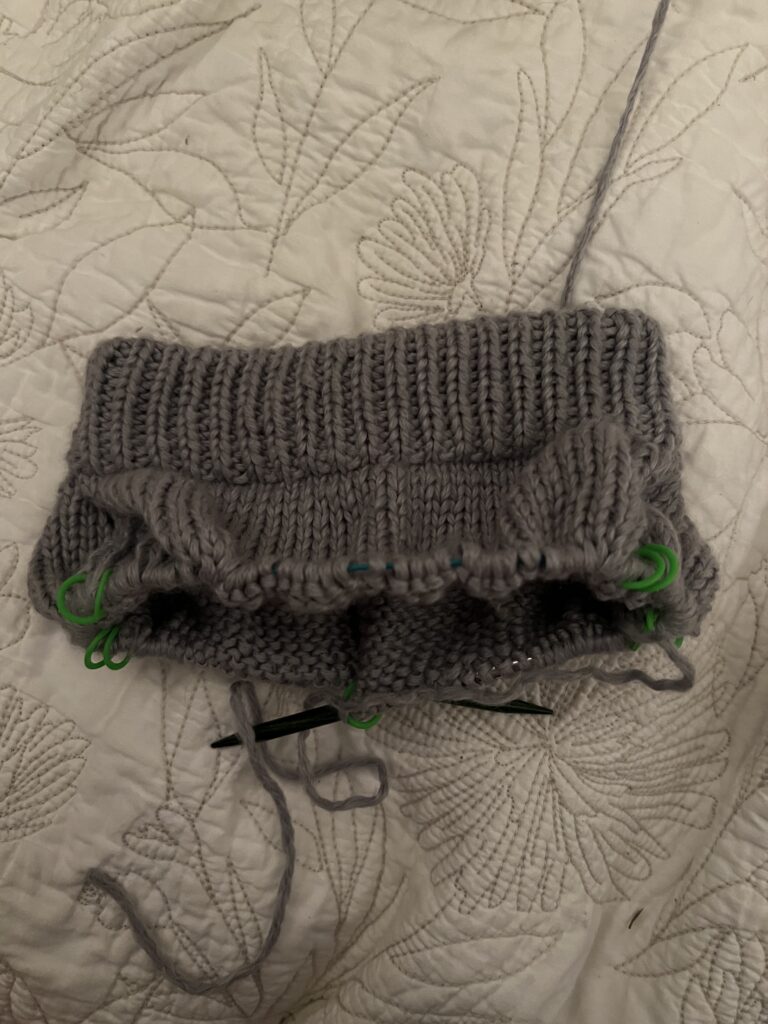
This week was a continuation of all the work that I have been doing, continuing to work on the yoke and make it long enough. It has taken a lot longer to do this section than I thought, I thought that it would be a lot quicker and would be able to move on quickly. Keeping track of the row that I am on has been something that I am still working on and trying to keep on top of it so I know where I am. Something cool that I have gotten to do this week was change the chord length that I am using. Since I have been adding stitches as I increase the size of the yoke, there is not enough room on the chord for all the stitches so I had to change from a 40 mm chord to a 80 mm chord. Though to do this is a tricky step. In each chord package there are three components that are included, there is the chord, a pin, and chord ends. The pin is used to tighten and attach the chord to the needles so that they do not come apart as you are knitting. The chord ends are used when you are doing this exact step, switching from one chord size to another. To change the chords you remove one needle from one end of the chord and attach the chord end, then with the needle you remove you attach the new chord you are switching too and put a chord end on the other side. You then knit as usual until all of the stitches are now on the other chord and there is more room to add the stitches as you continue to increase the yoke.

This is me beginning to switch the chord lengths!

Free Inquiry Week 5

This week was a struggle, I made a mistake and don’t know what I did or how to change it. I think I added an extra stitch somewhere and then I also forgot what row I was on and if I needed to increase or not. The way that the pattern works is I am now creating the top part of the sweater and need to keep increasing the size so that it will fit my shoulders, to do this I knit on round with just straight stitches and for the next round I add increases in specific spots that are marked. So far I have just been trying to remember which row I was on and have not been keeping track. This strategy was working pretty well but not not so well, I think I am going to have to switch up what I am doing. I go some advice from a friend of mine, and I am going to start keeping a piece of paper indicating what row I am on in with my project so I do not forget again.

Since this is my first time knitting, I was bound to make a mistake. However, I do not know how to take the stitches apart. I know how to crochet and take stitches apart which is much simpler because each of the stitches is individual and there is no chance that the whole garment will unravel, unlike with knitting where I could lose all of my progress if I am not careful. There are so many great resources online that I have used to help me with this, by watching aa few videos (one which I will link below) that helped me grasp what I needed to do and how to undo the stitches.

Overall I am excited with how this is progressing but have to get over this mistake and take out what I did before I continue, I just have to buckle down and do it.

Free Inquiry Week 4

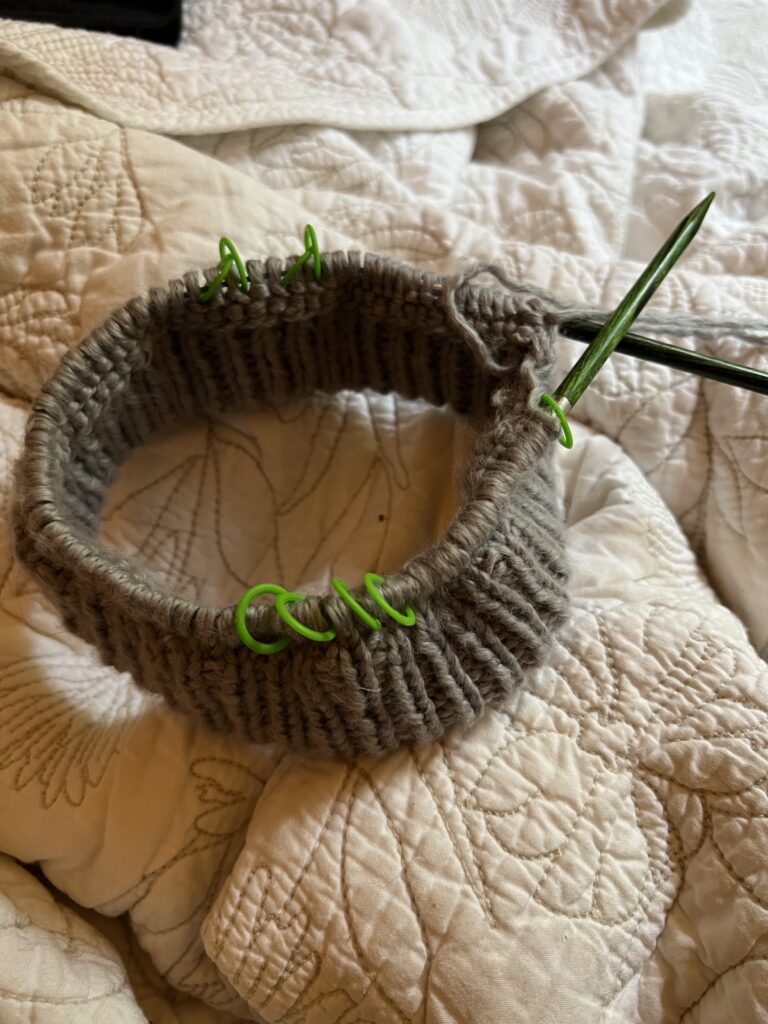
Knitting update!

Over the past week, I have made a lot of progress on the sweater! I am through the collar and am now starting on the yoke which is the top part of the sweater. This is one of the trickier sections of the sweater because you have to use two different stitches and alternate rows between just knitting and adding increases. I used the video linked below to learn how to do the stitches I didn’t know how to do. There are a few different materials that you need for this sweater which is something that I want to focus on this week.

Look at my progress!

For this sweater, you need two different sizes of needles and also two different lengths of cords. To make this sweater and other sweaters in this style you need to do something called knit in the round, which means you are not knitting back and forth on straight needles, but using needles that are connected through a cord or cable. By using this kind of needle you can work on a garment and make it as a tube rather than making individual pieces and stitching them together. For this sweater, you don’t only use one set of needles and one cable though, there are two different needle sizes and two different cable lengths. You begin on a smaller needle size to create the collar and then increase your needle size to create the rest of the sweater. The same thing happens with the cable length, you start with a smaller cable length but as you knit the yoke and add stitches you then transfer to a longer cable to make room for all the stitches. You have to be aware of when you need to switch and then also use specific tools to change needle size and cable length. There is this pin that comes with the cable that you have to use to tighten and loosen the cable from the needles to make sure that they stay attached. Which is an interesting piece of technology that someone had to think of and then create to solve this issue that people were having where the cable was getting loose from the needles and then the yarn was getting caught in between the needles and the cable. It is really cool to being using all this technology and these tools that have been developed over centuries and hold that history in your hands.

Free-Inquiry Week 3

For my free inquiry, I will be knitting a sweater. Knitting is something that my sister is very knowledgeable about and is something I have been wanting to do for a while and I thought this was a great opportunity to do this. The pattern I have chosen is a simple sweater that only requires the knowledge of two stitches and a very basic understanding of knitting. This is a photo of the sweater that I am knitting.

I will include the link here: https://www.ravelry.com/patterns/library/step-by-step-sweater.

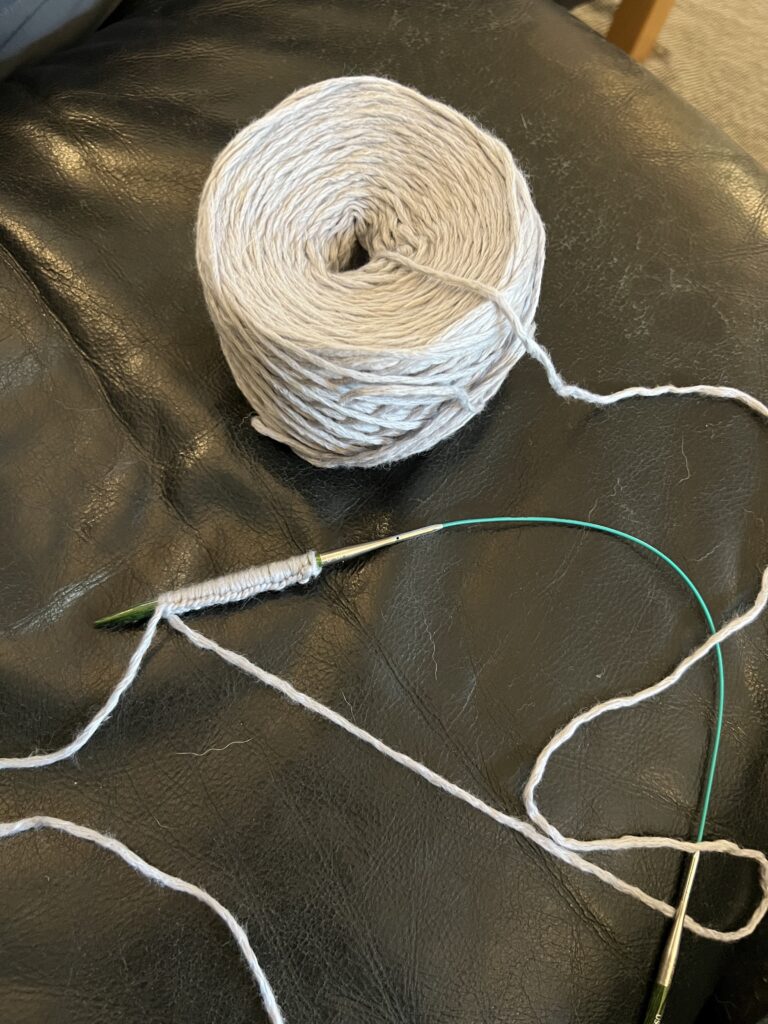
I have just started the project; it took some time to set up. I had to pick the yarn and since I am allergic to wool it is a bit of a process to pick what I want to use, there is a limited selection of non-wool yarn. For the pattern that I am using I had to use a specific size of yarn and that narrows it down even further. Now that I have all of the necessary materials I have cast on the project and begun to knit the sweater.

This is a photo of me “casting on” my project which is how you start any knitting project.

Image citation: https://www.ravelry.com/patterns/library/step-by-step-sweater